
Planning to install an on-ground pool in Ottawa? The first step that often gets overlooked is leveling the yard. It might sound like a small job, but it has a big effect on how well the pool works and how long it lasts. Uneven ground can create issues like poor water circulation, liner stress, and problems with settling. A properly leveled base creates a solid foundation that helps your pool stay safe, stable, and easier to take care of.
Leveling your yard before the pool goes in also makes the installation smoother. It reduces the chance of needing repairs or realignments down the road. You want to enjoy your pool, not worry about problems caused by a bumpy setup. And since Ottawa summers don’t last long, spending a little extra time getting the ground ready helps you make the most of swimming season without annoying setbacks.
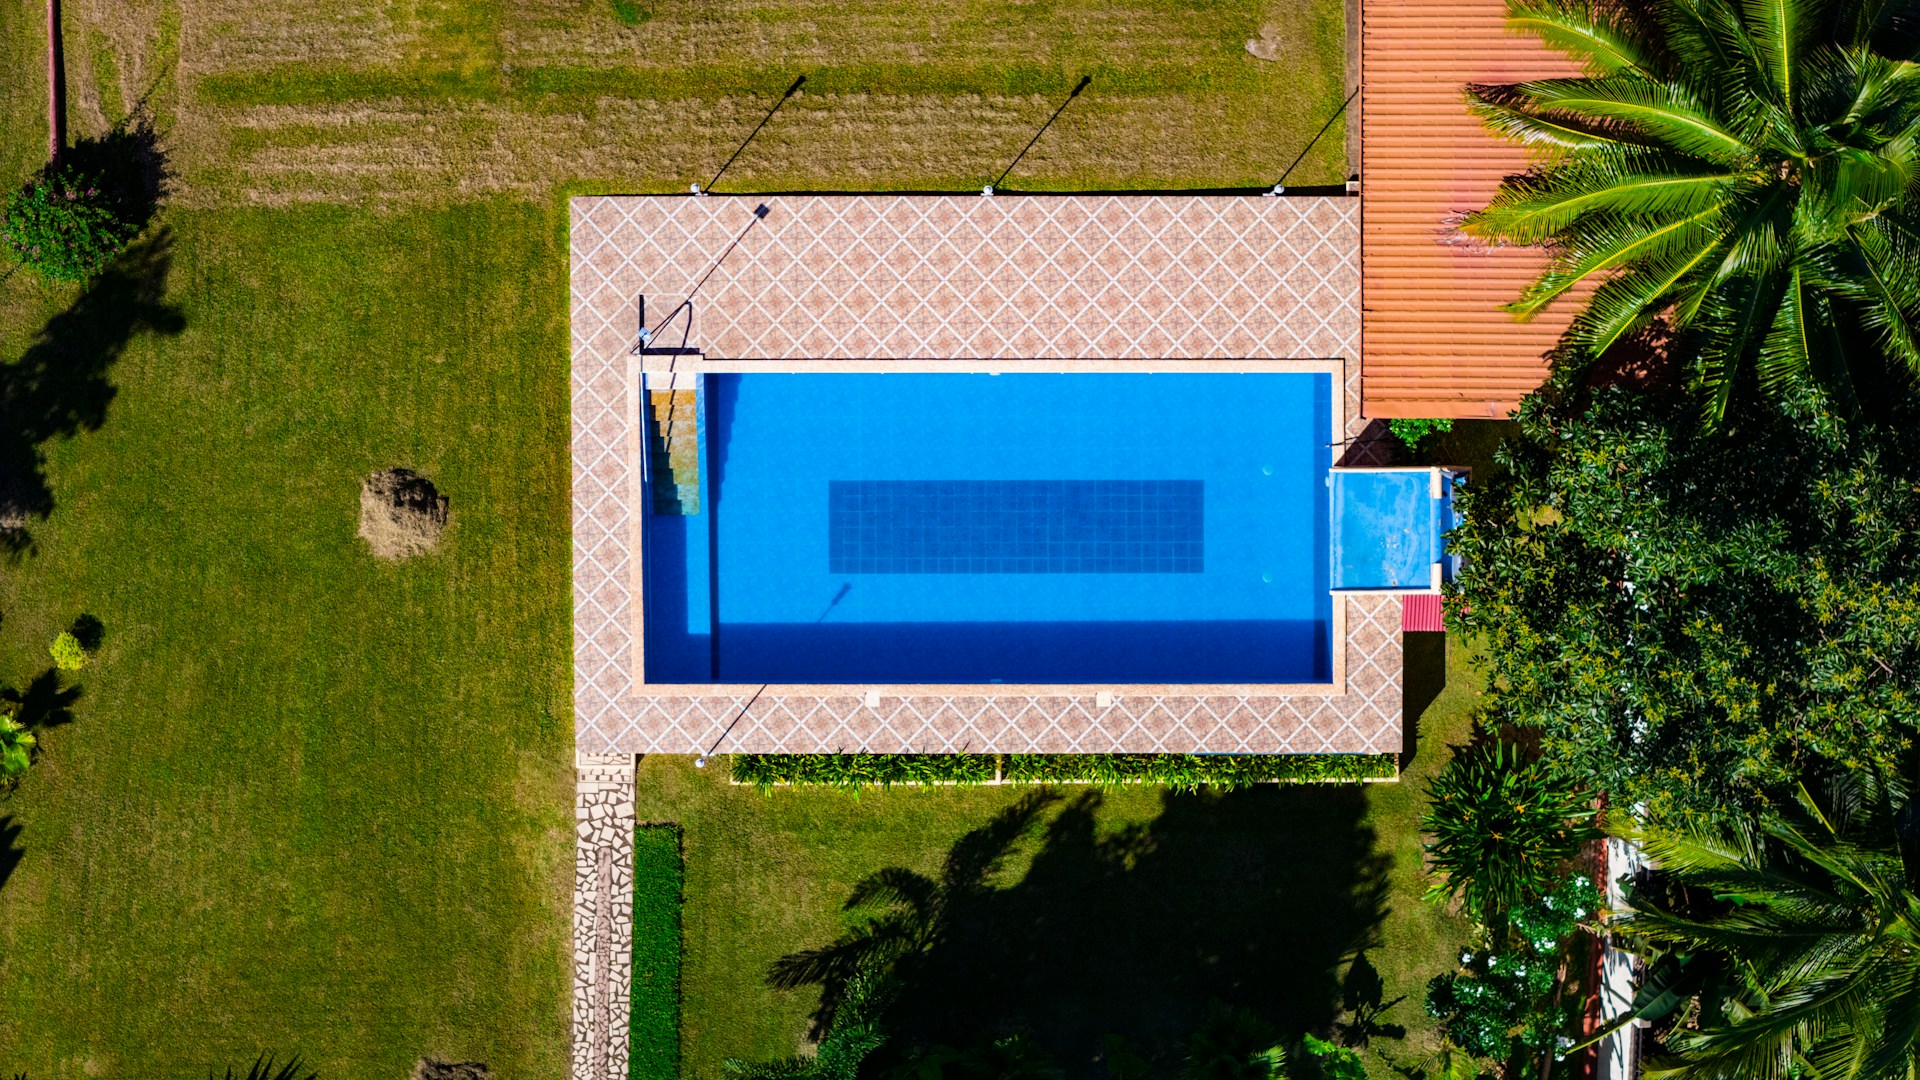
Assessing The Yard
Before any digging starts or materials are dropped off, take some time to examine the area where your pool will go. You need to understand the natural slope of your backyard and figure out if the ground is firm enough to handle the extra weight. How steep the yard is and what type of soil you’re working with both make a big difference in how much prep work is needed.
Start by doing a quick walk of the space. Look out for dips, uneven patches, or soggy spots where water tends to gather after rain. These areas might need extra attention. Check the ground for anything that could cause problems later, like large rocks, old tree stumps, or patches of soil that feel squishy or overly hard.
To help with this step, here are a few items that come in handy:
1. A long carpenter’s or laser level to check the slope
2. A sturdy tape measure to plan distances and outline dimensions
3. Wooden stakes and string line to map out and measure the area
Place the stakes at each corner of your desired pool layout and run string between them to form a grid. Use your level at different points to see how flat the string sits. If one part dips lower than the rest, mark that down. It shows where you’ll need to remove or add fill. Pay attention to any nearby slopes that could send runoff toward the pool. Drainage issues are easier to fix now than after the pool is in.
Marking And Preparing The Area
Once the best spot is chosen and the slope measured, it’s time to mark the pool footprint and get the area cleared. This stage means removing anything that could affect the level or settle unevenly over time, like roots, grass, or debris.
Start by hammering stakes at the corners of your planned pool area and wrapping string around them for a clear outline. Use spray paint to trace along the ground so there’s no guesswork during digging. Be sure to mark slightly wider than the actual pool size. It gives you room to work and make adjustments as needed.
Once the area is marked off, move on to clearing the space:
1. Use a sharp flat shovel or sod cutter to remove grass and weeds thoroughly.
2. Rake up leftover sticks, stones, and any loose items on the surface.
3. Dig out any remaining roots or organic material. These rot over time and can create soft pockets beneath your pool.
4. For soft or bumpy spots in the soil, dig deeper and replace with crushed stone or other firm fill.
The cleaner and barer the site, the better. You want a fresh surface that mirrors your layout and gives a strong foundation for the next step. Skipping this part or rushing through it can create more work down the line. A clean prep now means fewer surprises later and a better-quality installation.
Leveling Techniques For Pool Stability
With the area cleared, now comes the step that ties it all together: getting the yard level. This is where patience matters. The more accurate the leveling, the safer and longer-lasting your on-ground pool will be.
One common method is to use a long straight board and place a carpenter’s level on top. As you move it across the area, it shows where to add or remove soil. Another method is using a line level or string level between stakes. These help keep your reference line steady and allow you to check the flatness from all sides.
Because soil conditions in Ottawa vary from one yard to the next, take your time to avoid under-compacting some areas and overworking others. Follow these steps to guide your work:
1. Place stakes evenly around the perimeter of the cleared space.
2. Tie string between the stakes and make sure it’s taut.
3. Use a level to check if the string is straight across each section.
4. Add or remove soil beneath the string until everything lines up evenly.
For lower areas, avoid using plain dirt to fill. Instead, go with packed screenings, sand, or crushed stone. These materials hold firm when compacted. After placing a few inches, use a hand tamper or plate compactor to flatten it before placing another layer.
Keep checking your setup after each pass. Don’t assume it’s good after one check. Little dips or peaks can add up. A level base keeps pressure on the pool evenly spread, so make this step count.
Final Prep And Installation Tips
Now that everything is level and shaped to your pool footprint, the focus shifts to locking it all in place. Loose fill or soft spots will shift under the weight of water, so compacting every layer helps prevent future problems.
Walk the area and feel for spots that still sink under pressure. These need more compaction. Once things feel solid, roll out a weed barrier like landscaping fabric to block plant growth under the pool. That stops roots from reaching the liner later on.
If your pool will sit on sand or soft bedding material, rake it till it’s smooth and even. For paver bases or cribbing systems, make sure all forms and frames are perfectly squared and level before you start building on top.
A final check using a builder’s level helps confirm everything is right where it needs to be. If you’re feeling unsure, having help from an experienced installer is a safe bet at this stage. Take a few minutes to protect all that groundwork by placing plywood paths or wide boards if you need to walk across the surface. Footprints can mess up your work faster than you think.
Also, don’t leave heavy tools or allow water to pool before the install. Protect your base right up to the final moment. A solid construction start leads to fewer delays and better pool performance for years to come.
Set the Stage for Poolside Relaxation
A level yard might not seem like a big deal at first, but it’s one of the most important parts of any on-ground pool installation. It lays the groundwork for everything else to go smoothly. A solid, flat base keeps your pool balanced, helps the liner sit properly, and makes water flow easier. More importantly, it prevents problems like sagging spots, shifting walls, or early wear and tear on your pool.
Taking time to learn what’s involved makes a real difference. Whether you’re hiring help or having it handled by professionals from top to bottom, paying attention now puts you well ahead when summer arrives. Ottawa weather waits for no one, so starting strong means more time swimming and less time fixing.
Once your yard is ready, you’re already on the way to a reliable and good-looking space to enjoy with your friends and family. A pool that’s built right holds its value and use far longer. Prep it once. Enjoy it for years.
Make every Ottawa summer memorable by ensuring your on-ground pool installation is done right. Get your backyard ready for a splash and see how Impressions Group Ottawa Inc. can transform your outdoor space into a perfect oasis. Dive into seamless experiences with our expert guidance and enjoy worry-free pool days all season long.